When integrating with a system like e-conomic you will inevitably be faced with task of synchronizing data between your own system and e-conomic. This can be done by just downloading data from e-conomic at predefined intervals, but this performs very poorly and is ardly realtime. To solve this problem we have implemented webhooks, which is a way for us to push events to your system the moment it happens.
A webhook is basically just an HTTP request that we invoke on our side with some post data that describes what happened. That way your system can react to this event and either sync data or do other operations that should be performed based on these events as they happen.
Webhooks is a really powerful pattern, and one that can ensure a really good user experience in your system. But as with everything else powerful, you need to be able to handle the situations when this power shows teeth.
The way this pattern is implemented here at e-conomic is that we send out one webhook request per event. So imagine the situation where you import 100.000 products using a CSV file. This results in 100.000 webhook requests being sent to your endpoint. Because we send out webhooks for all our integration partners, we have to process many millions of webhook requests daily, and we don’t like to delay them. So we have a setup that can process these very fast, meaning that you will most likely receive all 100.000 wehook request in a window of a couple of hundred milliseconds.
If you try to process these requests in a PHP script or ASPX script that just performs the work as the requests are made, you will most likely run into trouble. If you do database operations you will most likely run into database locks, your web server will start to queue the requests because there isn’t enough free processing power and your ISP might even think this is a DOS attack and completely shut down the connection by banning e-conomics IP addresses. In any case you are going to lose these events, and potentially face two systems out of sync, and if your ISP has banned our IP addresses you will also face the task of getting them to lift the ban.
The solution to this is not that simple, but there are solutions to this. In the case of an IP ban, you should try to talk to your ISP to get them to white list our IP range.
Those IPs are
54.72.52.167
54.72.183.215
54.194.169.90
54.72.183.216
54.72.183.216
54.72.217.203
54.76.161.29
But in the case of processing power in your application, you need to implement a resilient design, that can handle web scale spikes in trafic. That means you cannot implement a PHP script that just looks at the incoming request and starts processing it right away. You need to protect yourself behind a queue. That means that all your script should do is to push the incoming webhook event onto a queue and then have a subscriber on that queue that can process the events in their own time. That way you might see delay in the processing when you receive 100.000 events, but you won’t lose any events. This is coincidentally also the pattern we use on our end to send out webhooks.
Message queues like RabbitMQ which is what we use, require maintenance and setting it up requires knowledge you might not have in your company. So while this will provide a robust and scalable solution it might not be something you are that comfortable with having to maintain inhouse.
This is where cloud services come to the rescue. There are many hosted solutions that offer a setup where you don’t need to do very much maintenance if any at all. The solution I will outline here is built entirely on free tier offerings. So if you don’t receive more than one million webhooks a month, it will cost you absolutely nothing to implement a really robust solution for consuming webhooks.
I will make use of two cloud products in my example.
1. Azure functions
Azure functions offer a server less architecture that allows you to host small snippets of code without worrying about infrastructure and servers. That makes them very cheap to host. Amazon offers a similar product called Amazon Lambda.
2. CloudAMQP
CloudAMQP is a hosted RabbitMQ solution. They offer a free tier that allows you to send one million messages for free a month.
Setting up RabbitMQ.
This is really easy.
1. Go to https://www.cloudamqp.com/plans.html and sign up for a free plan.

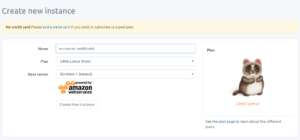
2. Create a new RabbitMQ instance
Once logged in, press on the create new instance button and create an instance. Name it “e-conomic webhooks”.
Make a note of the Server, User & Vhost, Password and URL on the details page of the instance. You will need these to connect later. But don’t worry you can always find the here.
 3. Create a queue
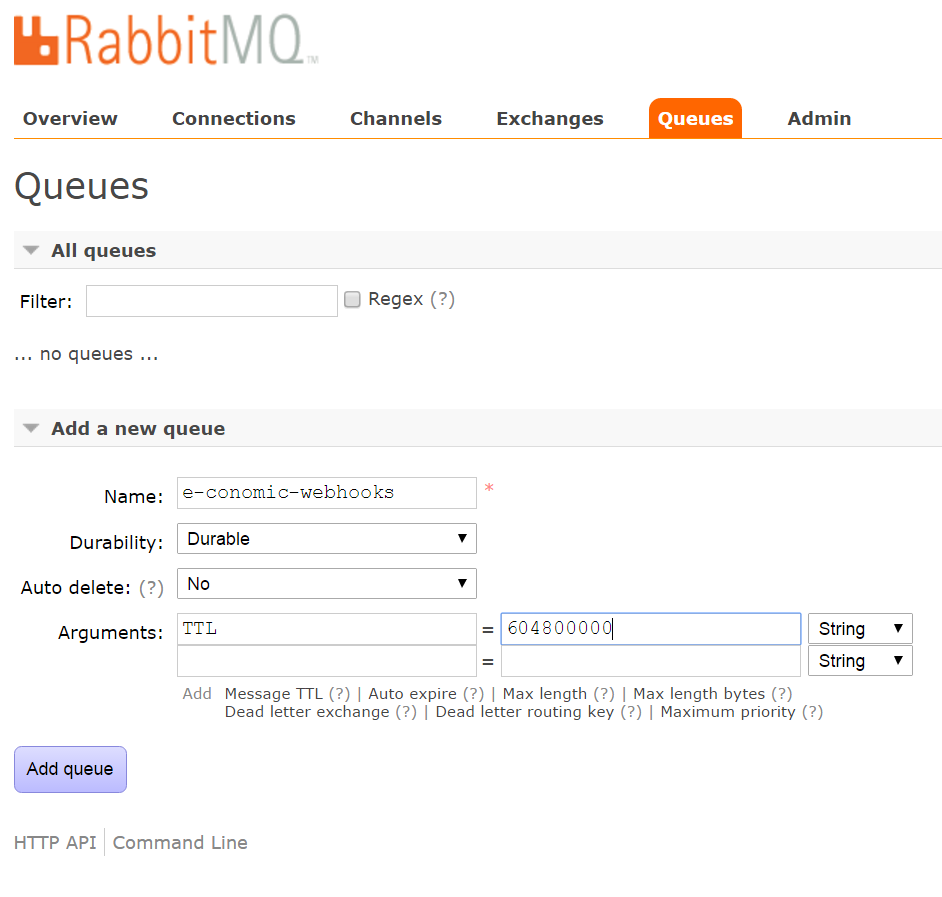
Once the instance is created. Go into the RabbitMQ manager and press “Queues” in the navigation bar.
Create a new queue called “e-conomic-webhooks”. Make sure it is durable, does not auto delete messages and has a TTL (time to live) value that is 604800000 (7 days). The TTL value just means that if you haven’t taken the webhook event off the queue within 7 days, it will be deleted automatically.

4. Create an exchange
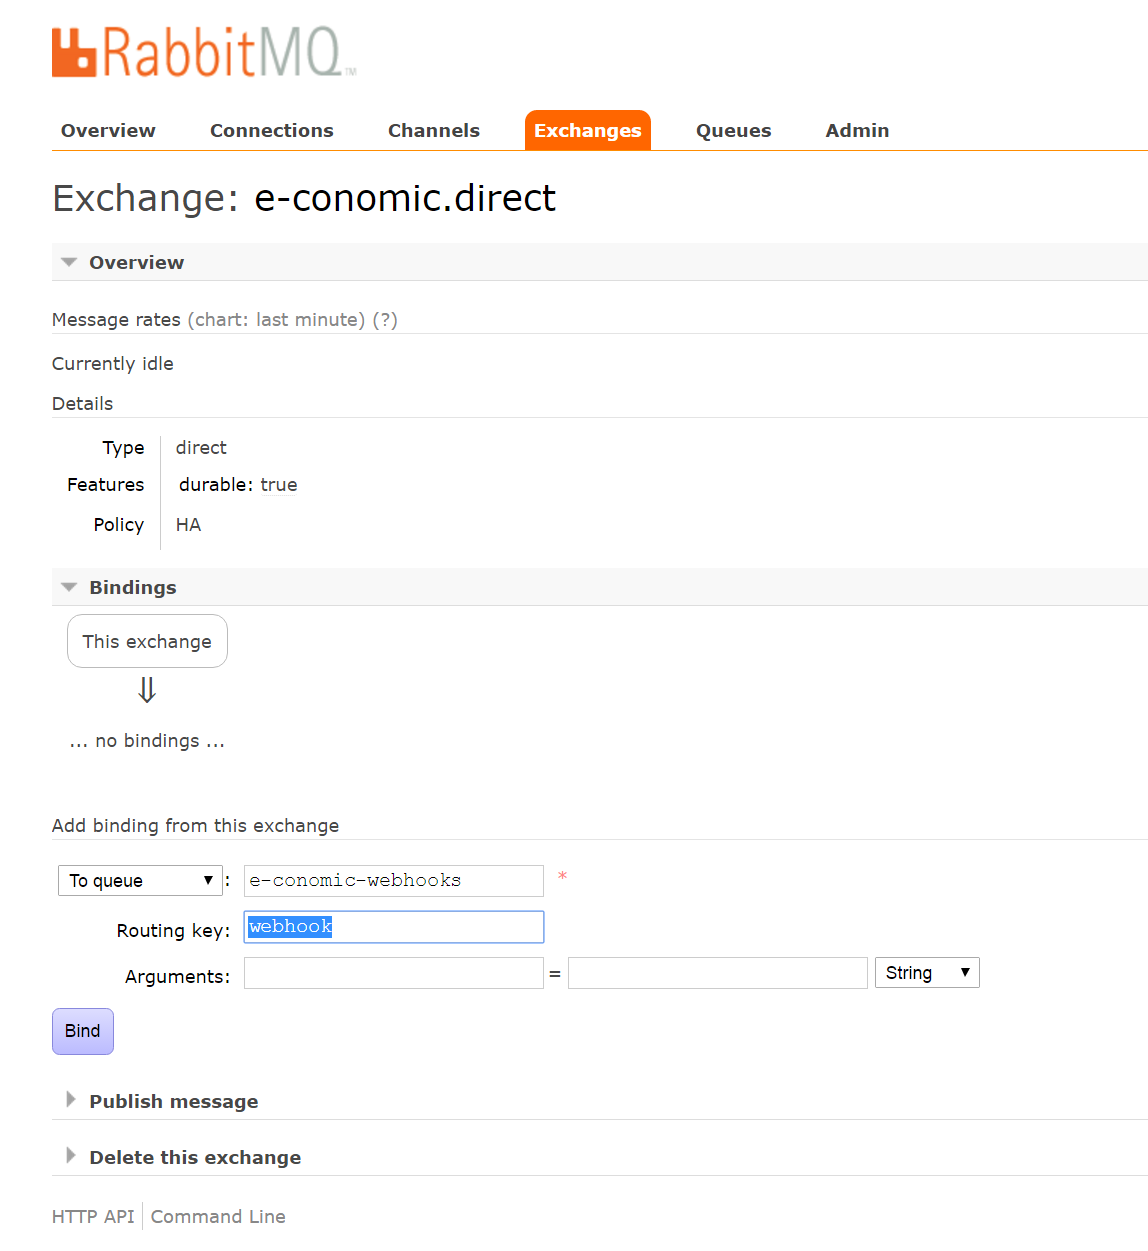
An exchange is quite simple. It is basically a router that recieves messages from a producer (in this case the e-conomic web hook service) and forwards them to a queue. It is usually bad practice to send messages directly onto a queue.
Name the exchange “e-conomic.direct”. Set the type to “direct”, make sure it is Durable and that it doesn’t auto delete and that it isn’t internal.
5. Add routing to exchange
Open the newly created “e-conomic.direct” exchange and add a binding from this exchange. Set the binding to the queue “e-conomic-webhooks” we created earlier. Set the routing key to “webhook”.
Now we have a RabbitMQ instance configured. Next up we need to create an Azure Function that can forward e-conomic webhooks to the instance.
Setting up an Azure Function

1. Get Azure Account if you don’t have one already
Go to https://azure.microsoft.com/en-us/ and set up a free account.
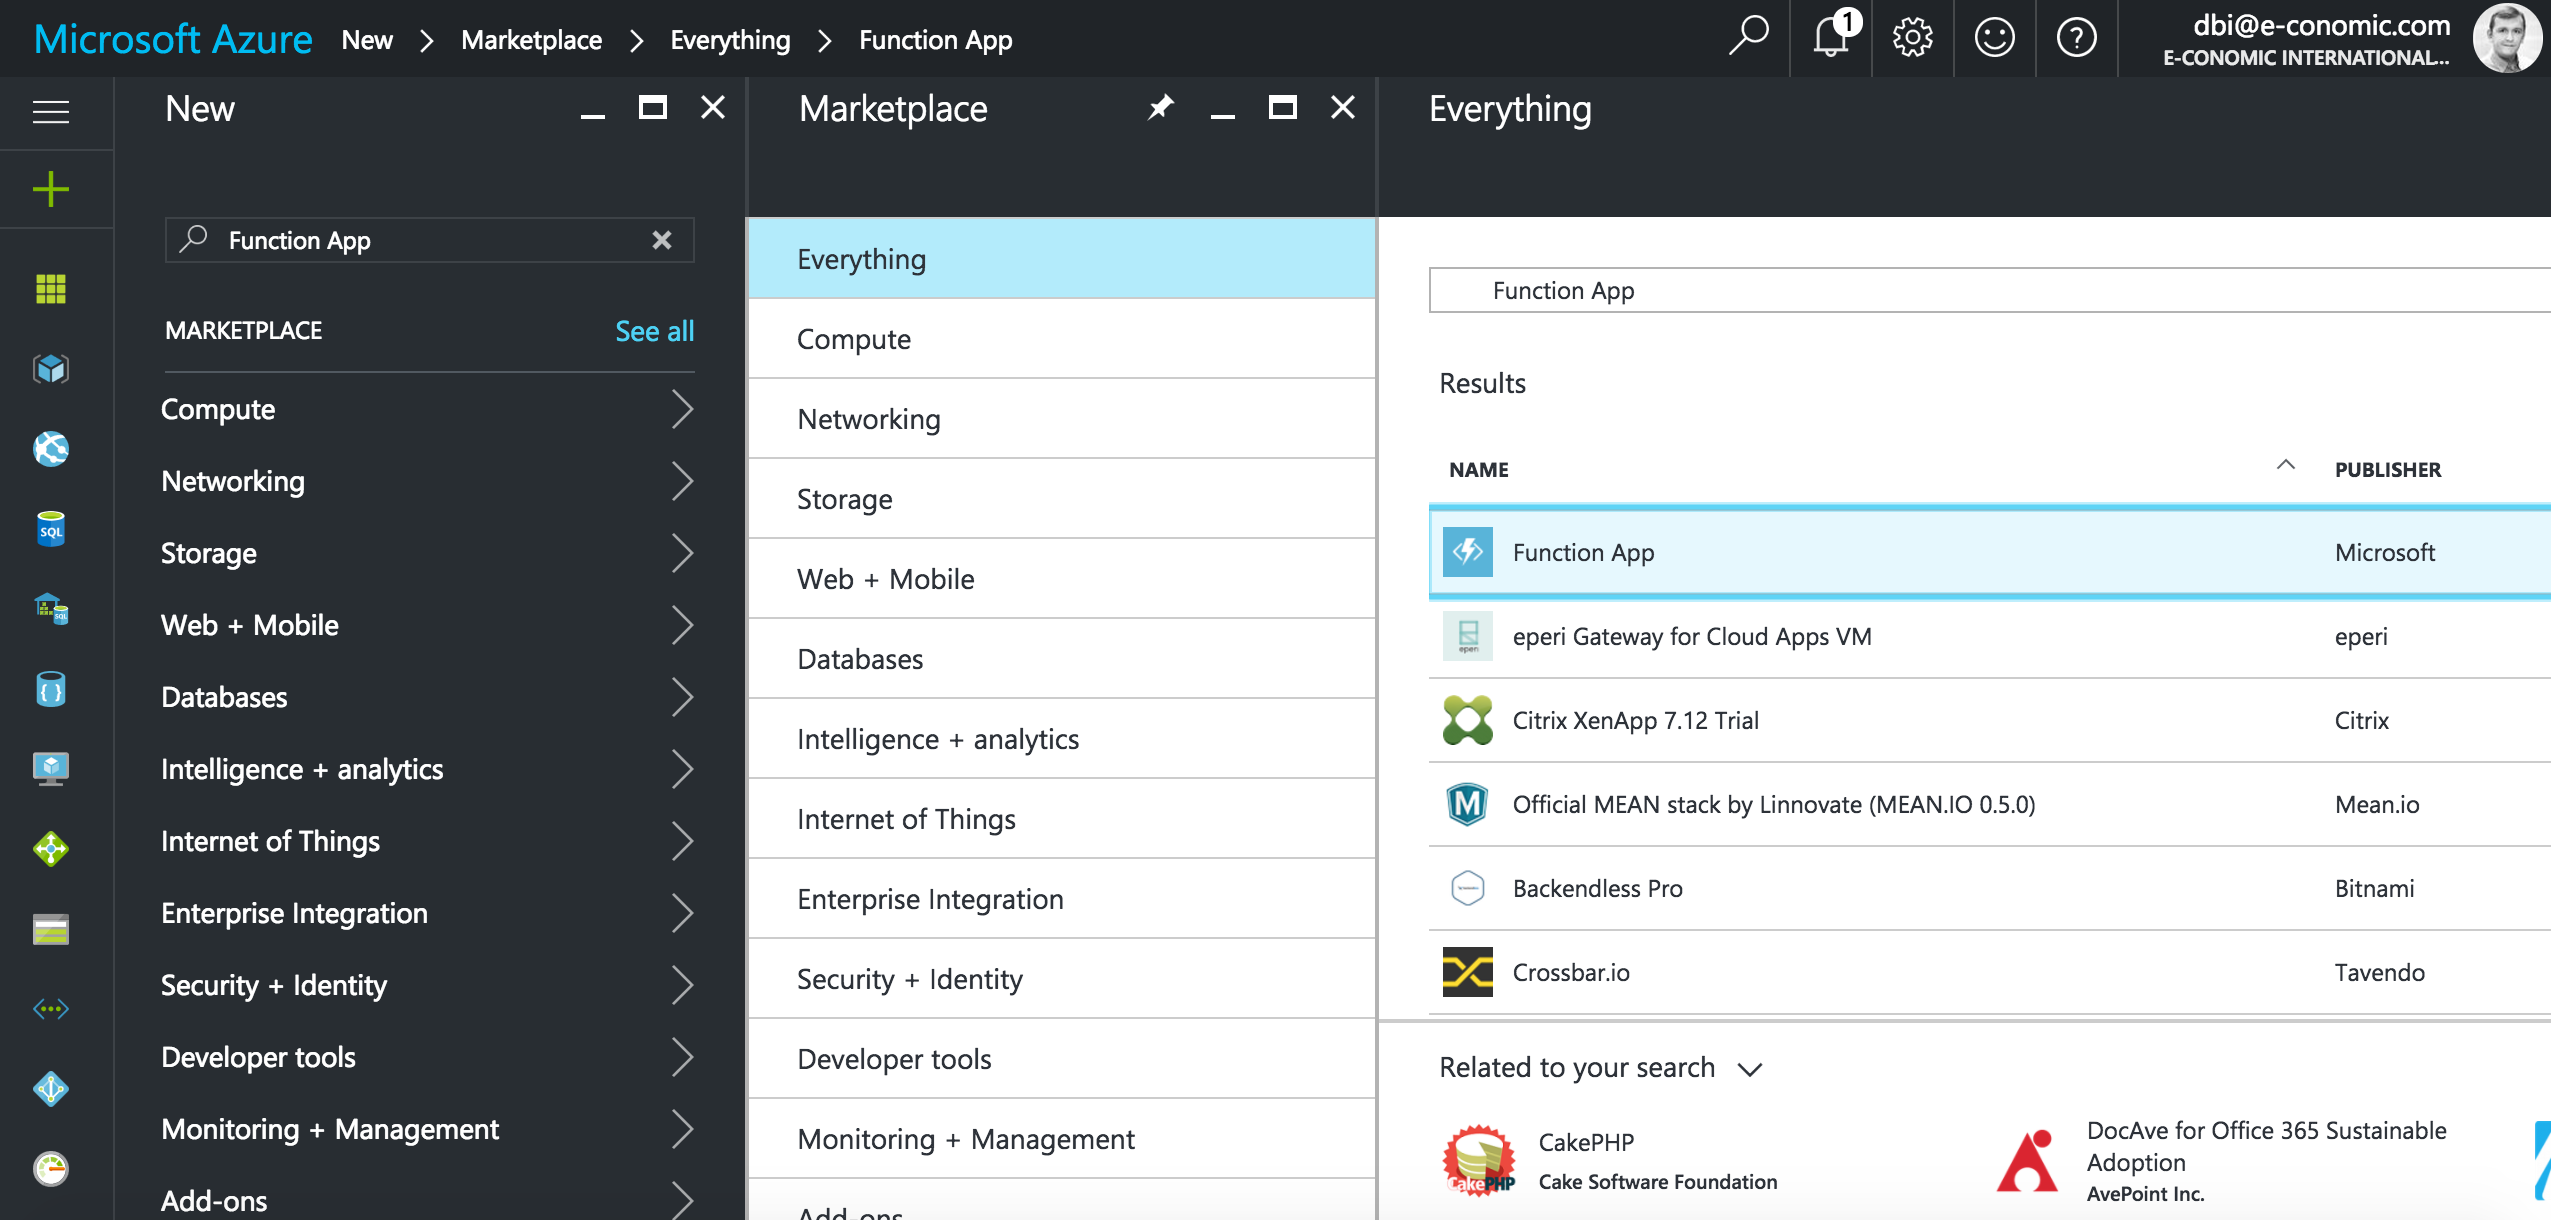

2. Create a Function App instance
Once on the Dashboard of the Azure portal create a new Function App by pressing the green plus at the top of the left menu, and search for “Function App”. Create a new Function app and name it something like “my-company-e-conomic-webhook-forwarder”. Chose a new resource group called “Webhook-Forwarder” Set the Hosting Plan to “Cunsumption Plan” and chose the location closest to you.
3. Write code
Find the resource group you chose for the Function App (“Webhook-Forwarder” in this example). In the overview of that resource group you can find the Function App you created (“my-company-e-conomic-webhook-forwarder” in this example). It has a lightning icon next to it. Open the app by pressing the link.
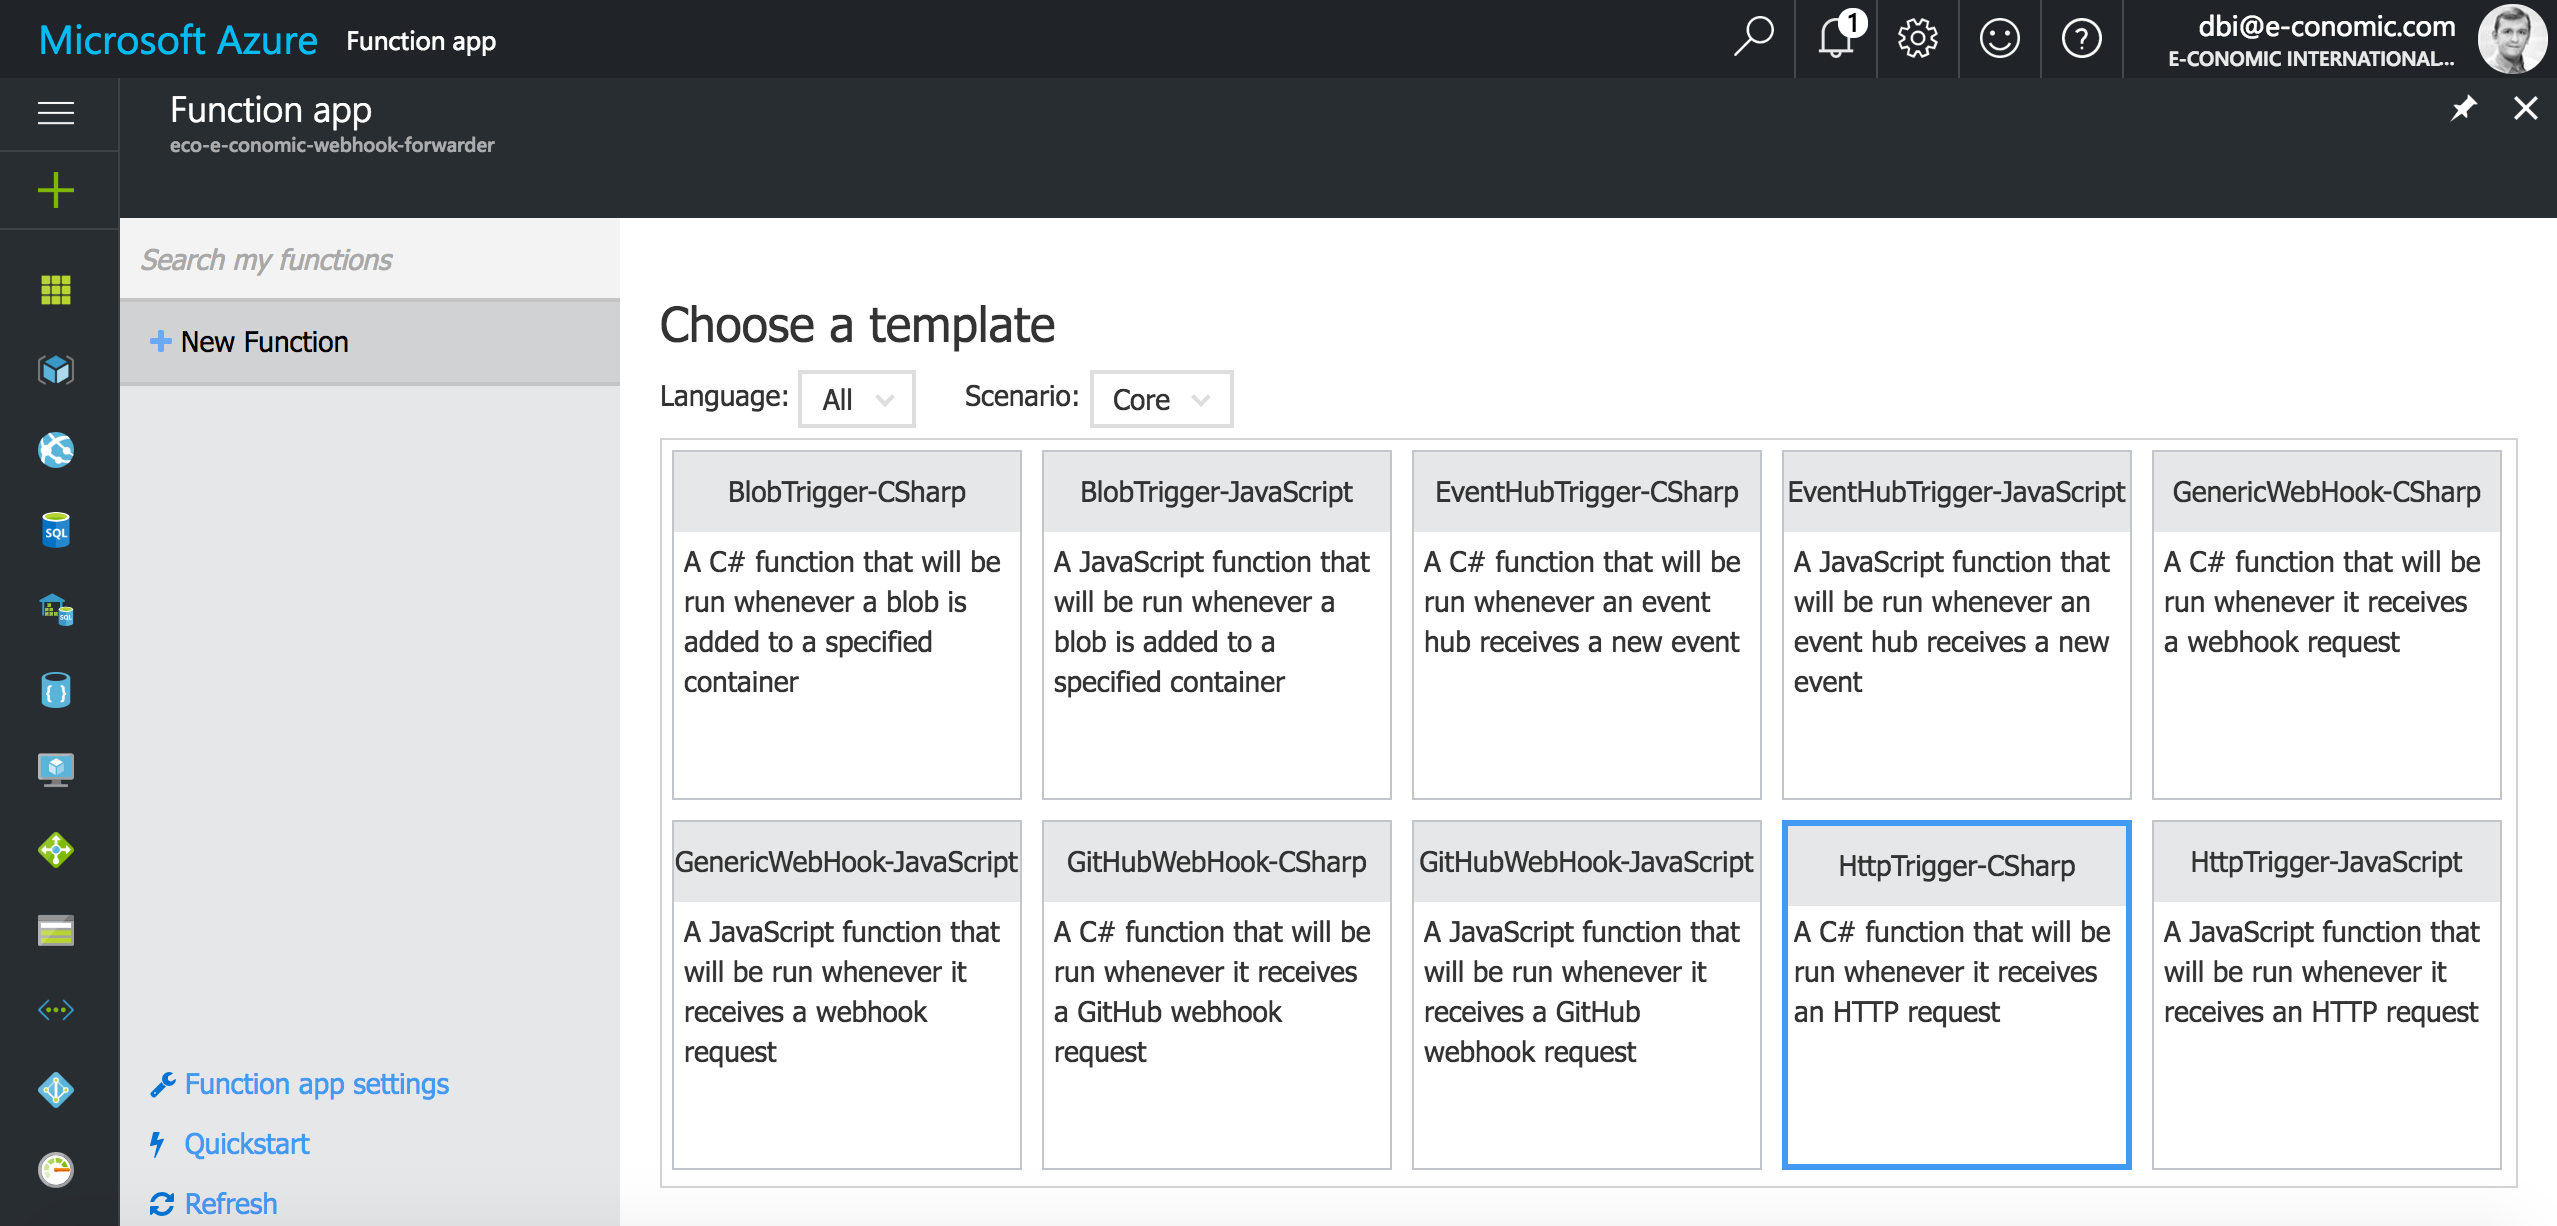
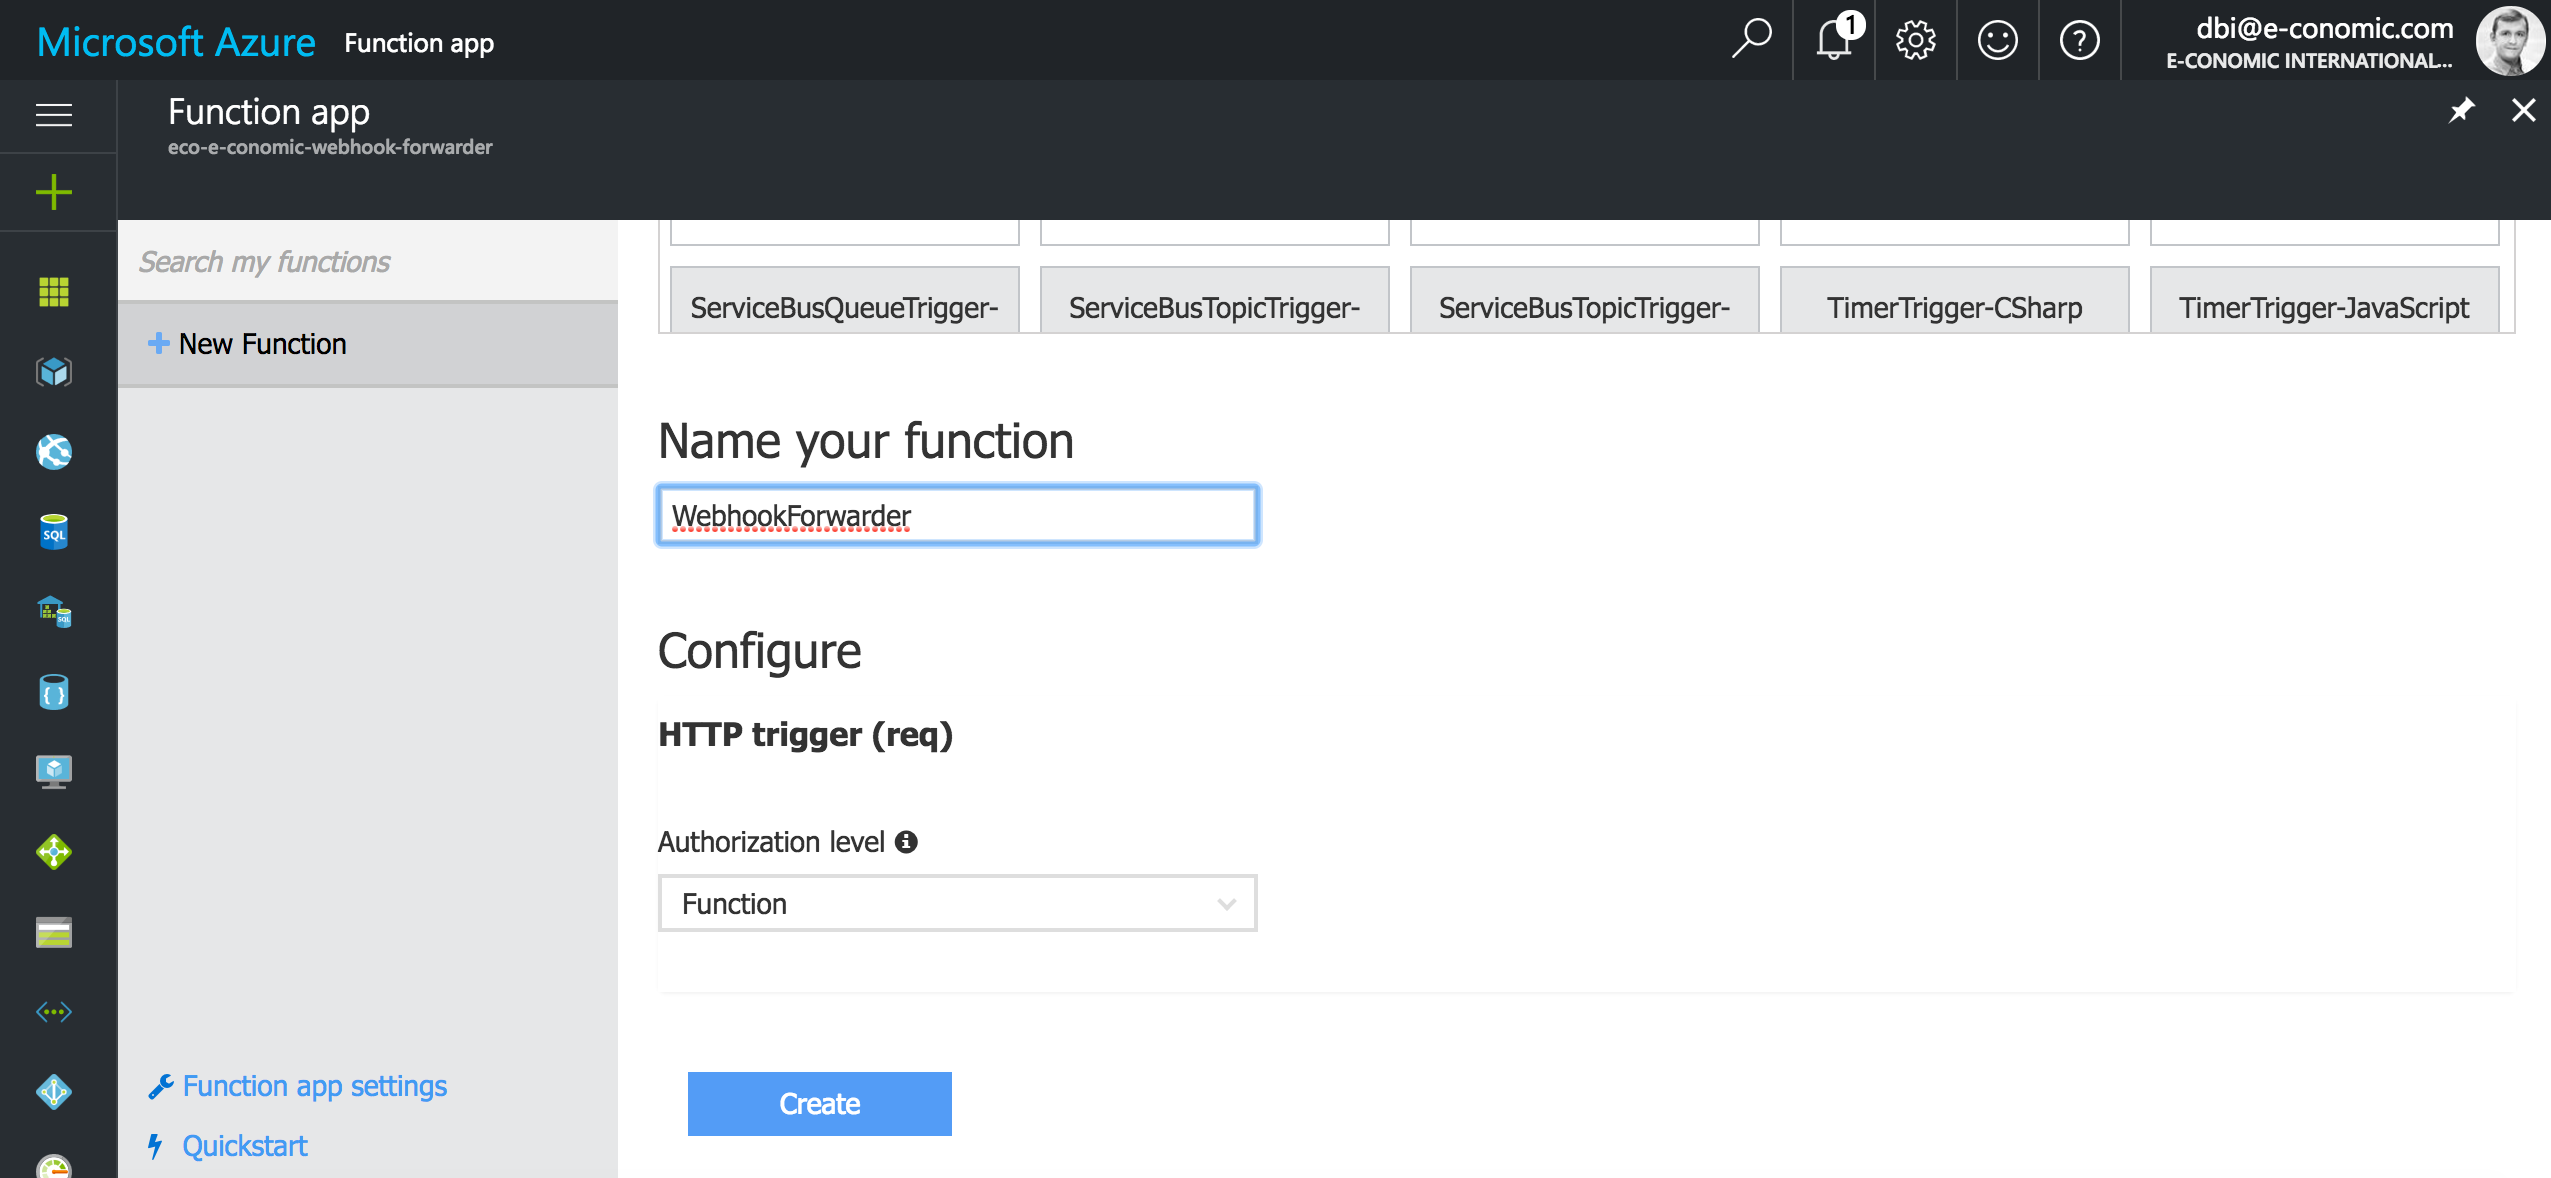
Create a new function based on the template called “HttpTrigger-CSharp”. Name it “WebhookForwarder” and leave the authorization level as is.
Copy this code into the code editor and press save.
Code snippet for forwarding legacy webhooks:
4. Set up environment variables
The code above is generic and will work for all CloudAmqp installations, but you need to define some environment variables for the code to work.
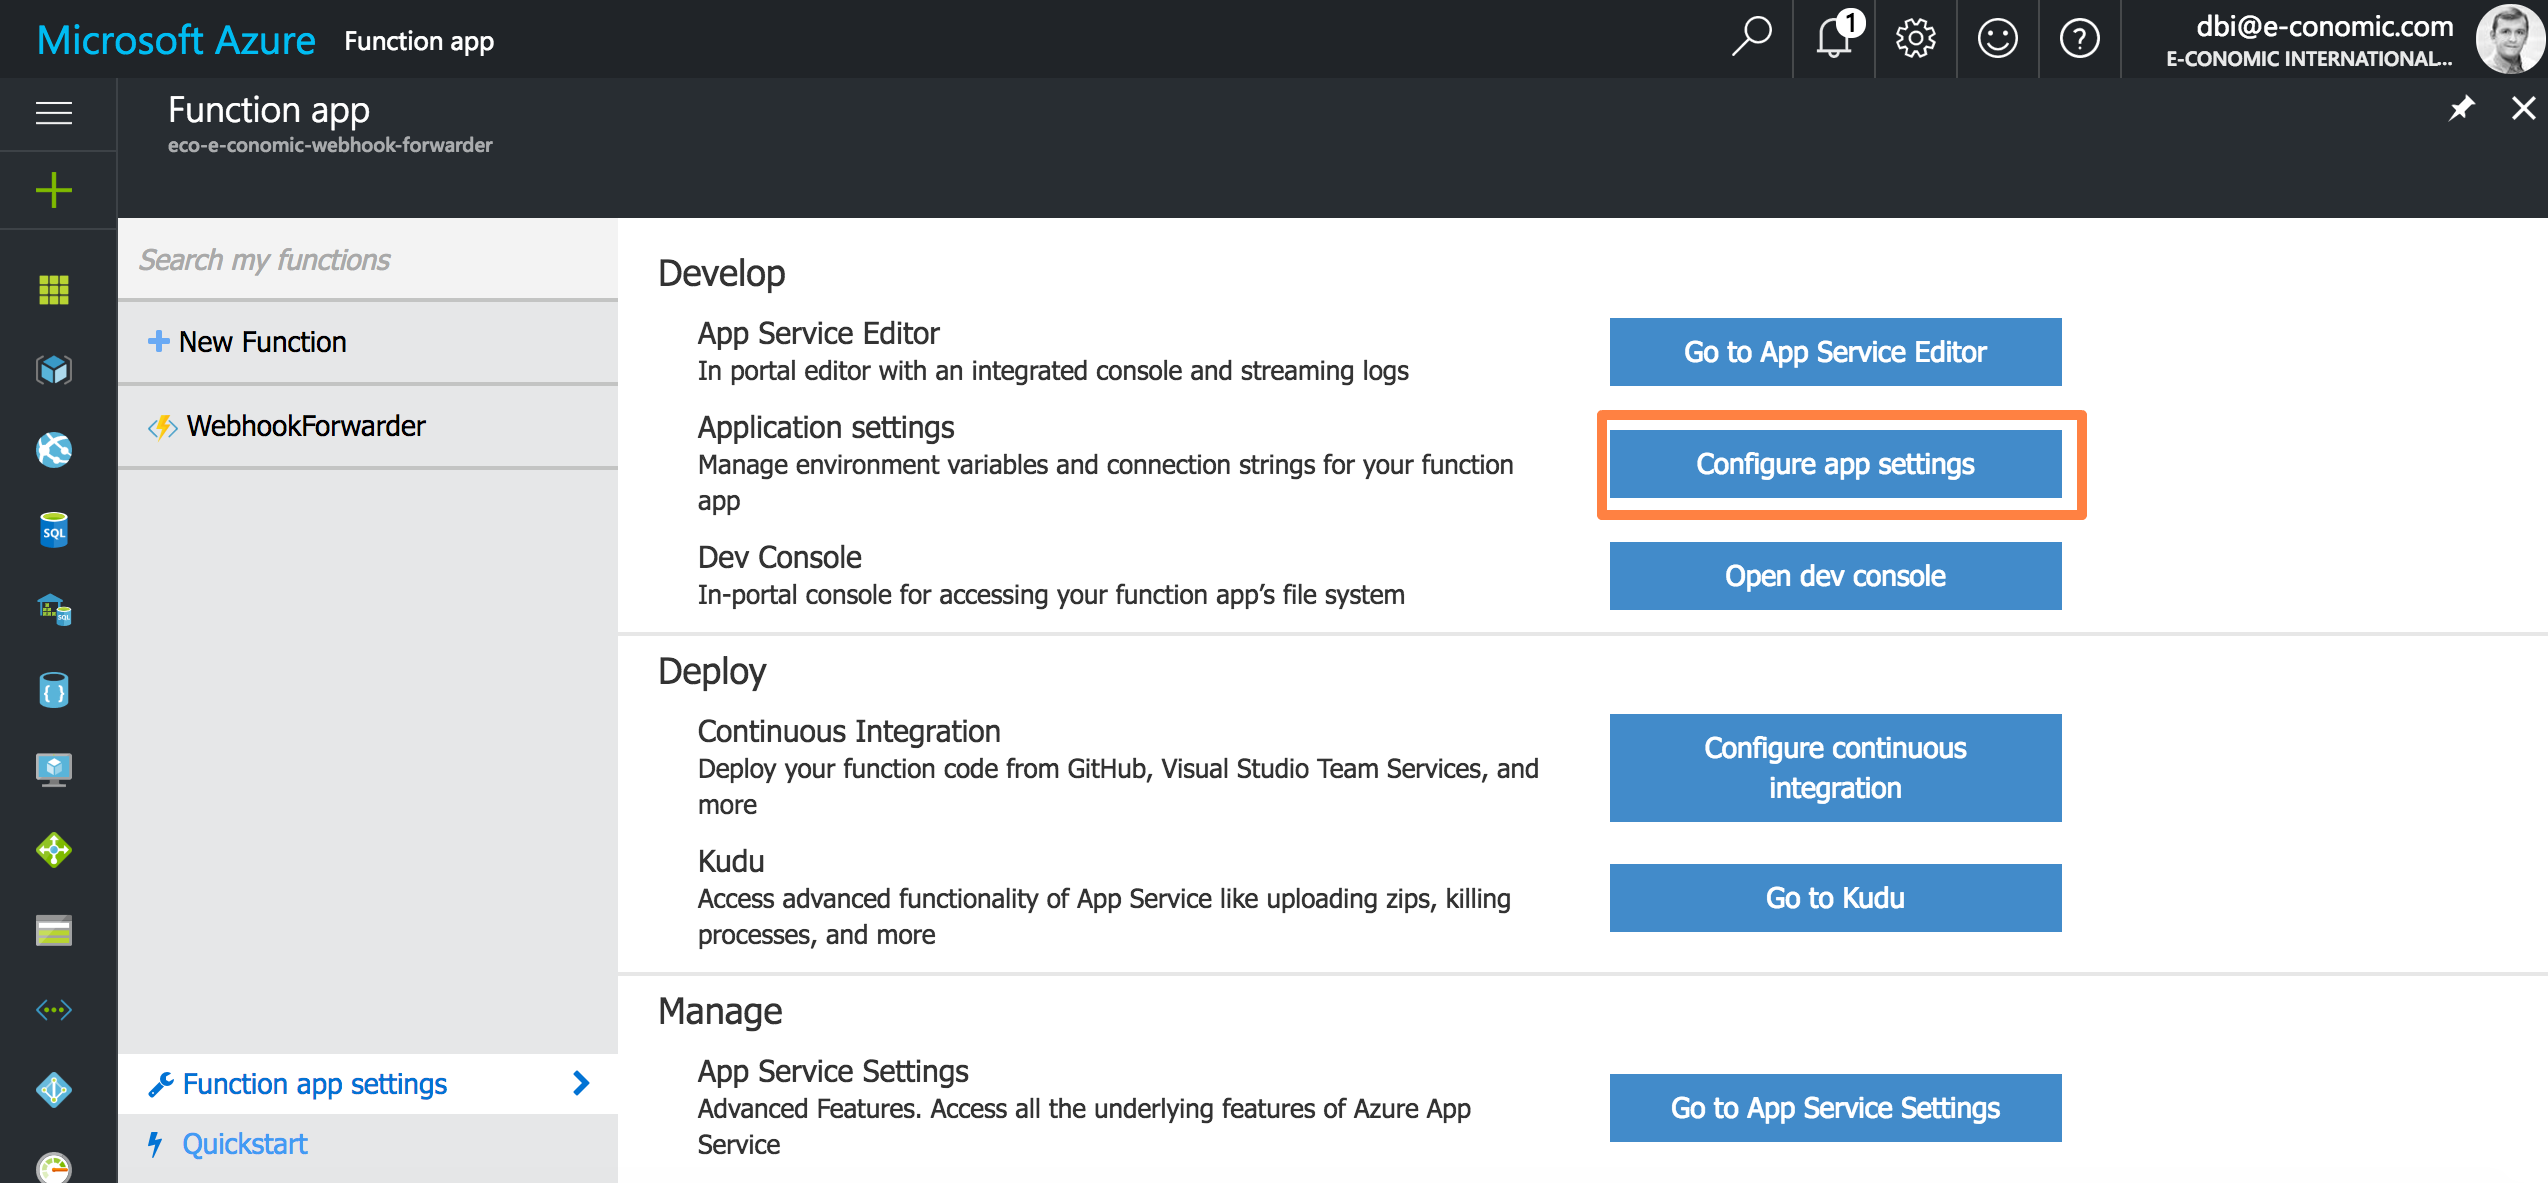
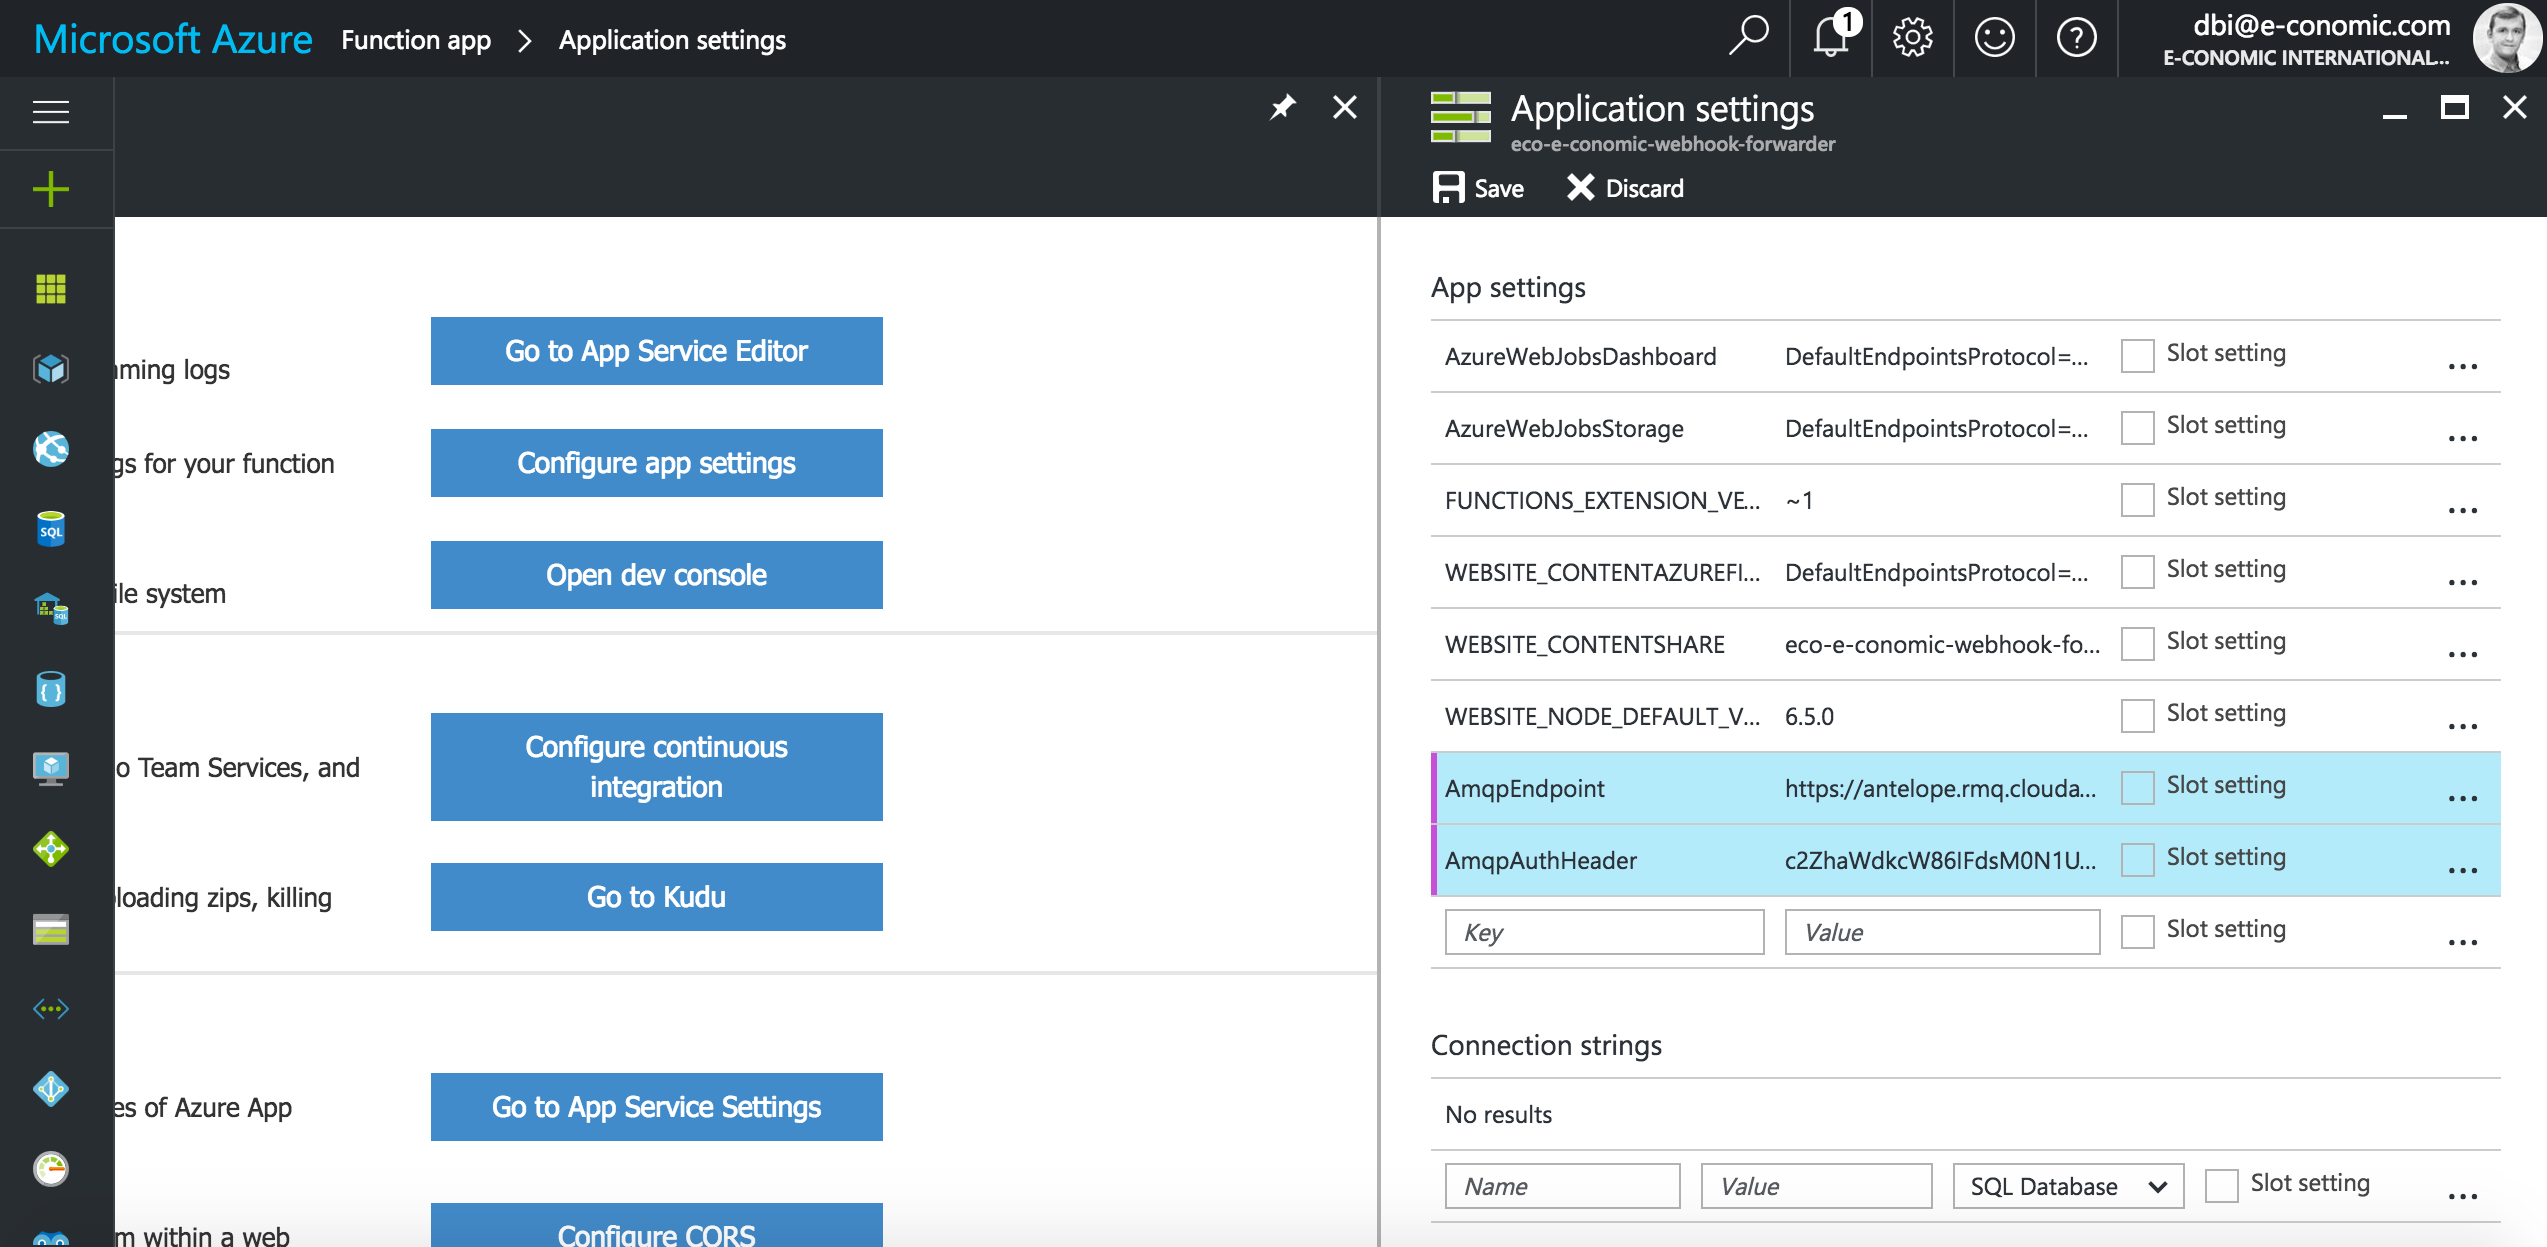
Go to the “Function app settings”, which can be found in the lower left menu of the Fuction App resource page. Click the button “Configure app settings”. In the “App settings” section add two new keys “AmqpEndpoint” and “AmqpAuthHeader”.
The value of the AmqpEndpoint setting can be found on the Details page for your CloudAMQP instance (click the name of the instance). The details include a URL. You have to construct the HTTP url like this:
https://<HOST>/api/exchanges/<USER & VHOST>/<EXCHANGE NAME>/publish
In my case that becomes:
https://antelope.rmq.cloudamqp.com/api/exchanges/gtygdfsy/e-conomic.direct/publish
The auth header is constructed by Base64 encoding the user and password. If you don’t know how to Base64 encode yourself, you can use an online service like https://www.base64encode.org/.
The raw string that should be encoded is constructed as:
<USER & VHOST>:<PASSWORD>
When encoded it looks something like this:
dGhlcmU6aXMgbm8gc2VjcmV0IGhlcmUgbW92ZSBhbG9uZw==
Point Webhook to your new Azure Function

1. Define webhook endpoint in e-conomic
Open your Function code editor. Above the editor you will find the Function Url. Use this url as your webhook endpoint in e-conomic.
Consume queued webhook events in your solution
Take a look at https://www.cloudamqp.com/docs/index.html for documentation on your programming language.
Note on e-conomic webhooks
The way webhooks have been created in e-conomic up until now, is that a webhook is owned by an agreement. We have created a new way to define webhooks, where a webhook is owned by an integration. The advantage with this new way is that you do not need your customers to define webhooks on their own agreement, and if they ever remove your application the webhook will just stop being fired. There is no user interface for creating or editing these webhook definitions yet. But we are looking for partners who are willing to test these new webhooks. So please contact us for help creating these webhooks.